Do you need to buy machine or parts?
Please email us: help@komachine.com


This product is manufactured by
ezmro
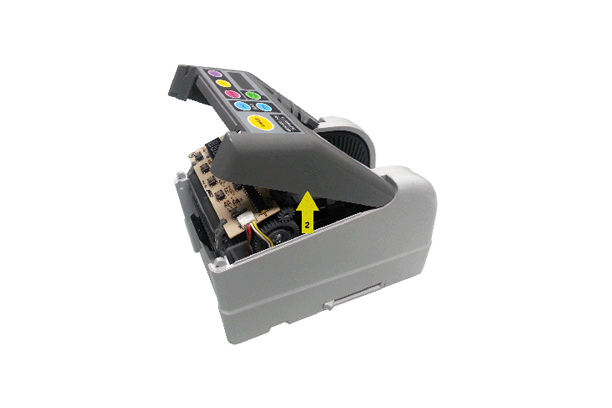
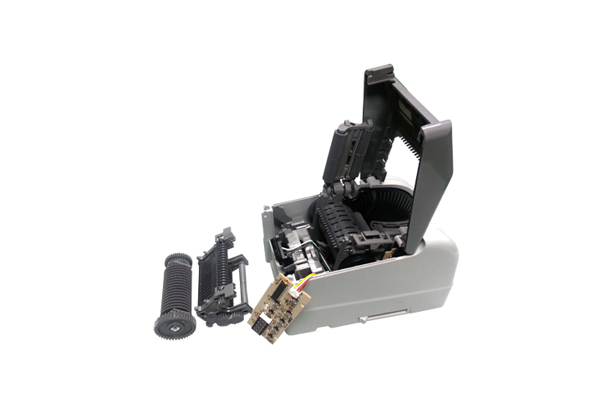
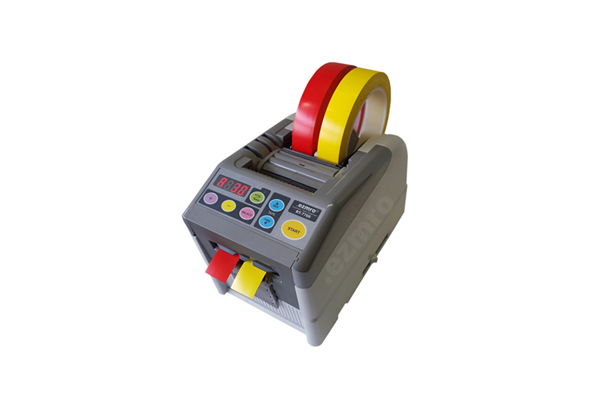
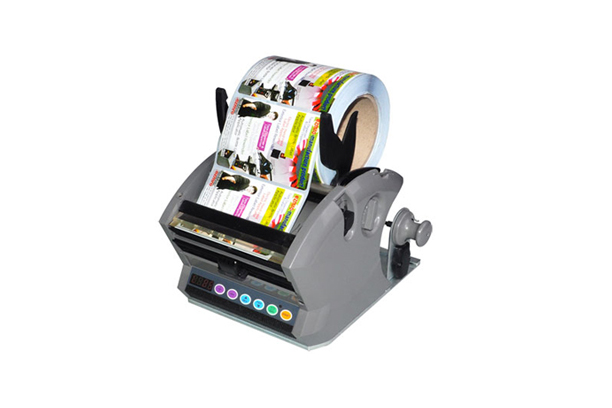
6 Auto Memory Dispenser
Model Name
RT-7700
Data
-
Manufacturer information
ezmro
Manufacturer of Label dispenser, Tape cutter, Spring separator, Label rewinder, Electric driver and more
Inquiry
How to order
Problem with product info?
Update request
Manufacturer
ezmro
Product Type
Machine
Brand
-
SKU
65593
Product Name
6 Auto Memory Dispenser
Model Name
RT-7700
Size
-
Weight
-
Product Details
More products
Double Roll Label DispenserEZ-6060, EZ-6012, EZ-1260, EZ-1212

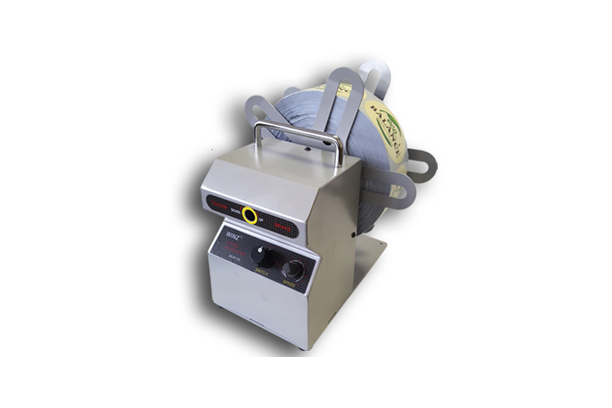
Hose Reel Balancers (HW-Series)HW-0, HW-3, HW-5
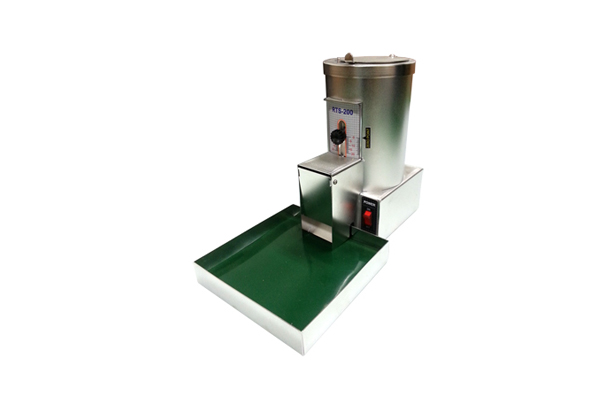
Spring SeparatorRTS-200

Spring BalancersTW-3

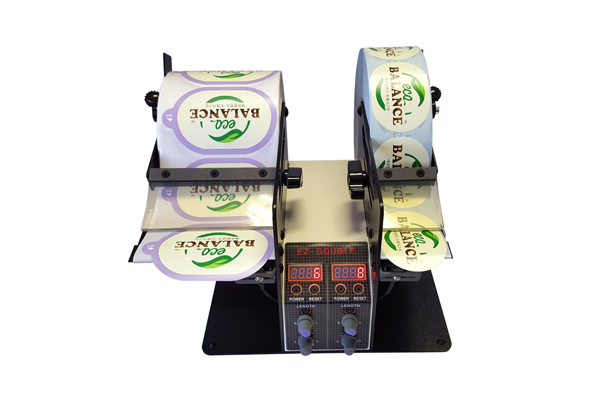
Automatic Label RewinderWRL-200
Electric Label RewinderWRL-150
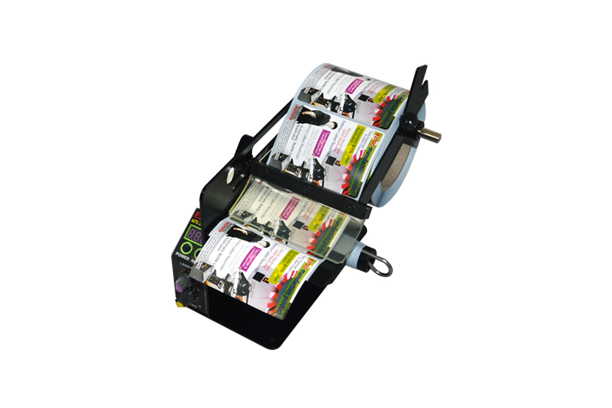
Automatic Label DispenserRTL-120
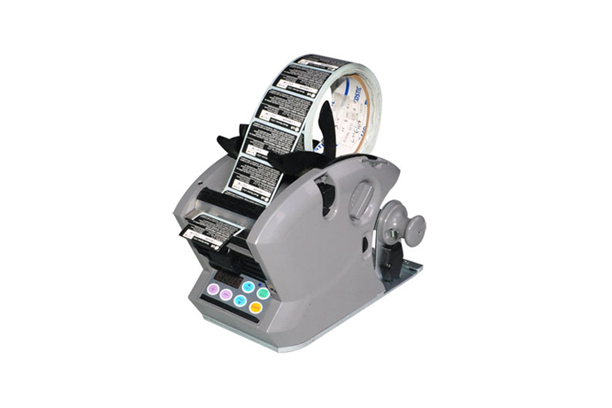
Automatic Label DispenserRTL-60
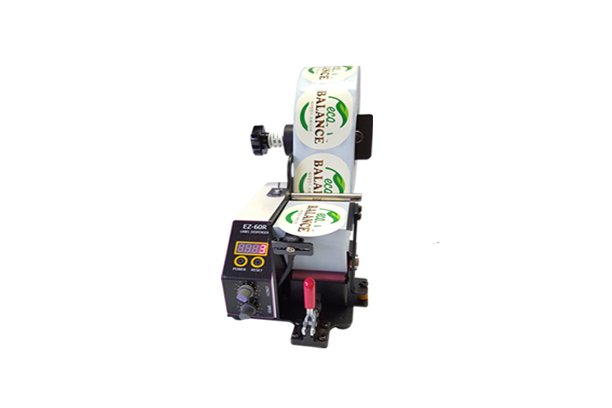
Automatic Label DispenserEZ-120R
Automatic Label DispenserEZ-120

Automatic Label DispenserEZ-60

Electric Tape DispenserEZT-3000
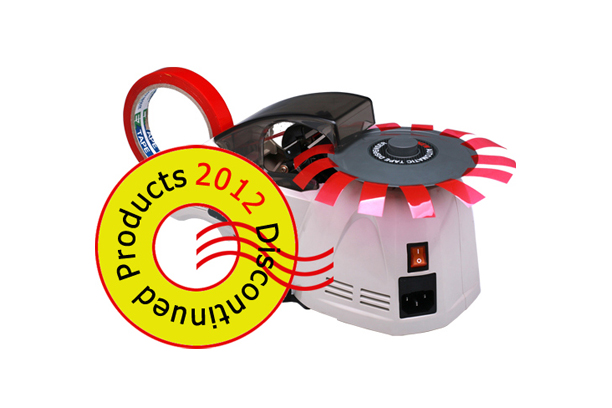
Electric Carousel Tape DispenserRT-3000

Spring BalancersTW-22

Spring BalancersTW-50
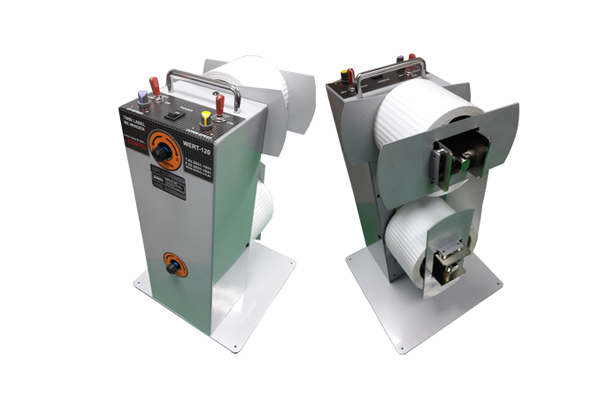
Electric Label RewinderWERT-120
1/4
